I have been thinking about stitches lately, about the way I use them, why I make the choices I do, and why some pieces are more successful than others. Stitch, my drawing tool, is only part of this process. Along with color and shape, repetition and balance--all the elements of design-- stitched marks are the way I layout the story I'm telling. Sometimes the story is abstract and even vague, maybe it is more a poem or a haiku in stitch. Whatever the subject or form, it starts with a stitch and a color choice.

This will be a lot of blog-musing, but if you'd like to follow along, I'm glad to have you. I will try to post on the subject of straight stitches when I have some observation or other to make because the Universe has a habit of hurling things my way without being sympathetic to personal deadlines. Because I so frequently rely on straight stitches and its many variations, what follows is my personal way of using this family of stitches. My aim is not to be decorative, which is why I work in straight stitches so frequently.
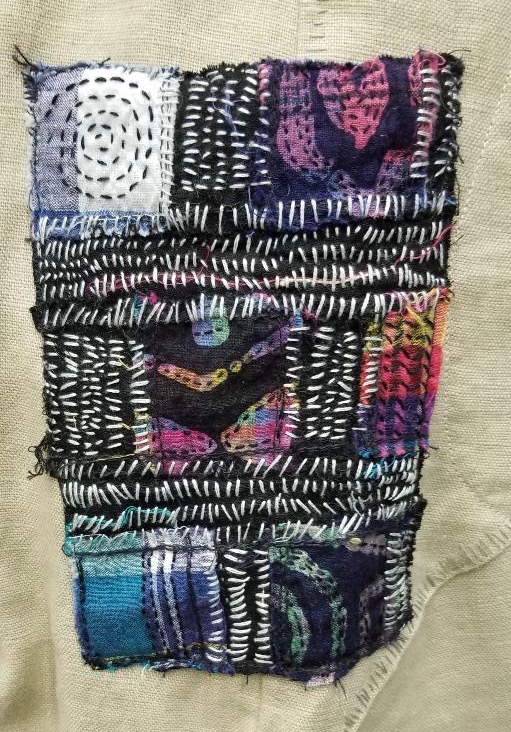
Straight stitches are flat, one-stroke marks on a cloth. They may combine with other straight stitches to make zig-zag, arrowhead or fern stitch, but they are still one-stroke marks. This is a sampler I have used as an index of straight stitch ideas, a way of remembering possibilities I might so easily overlook (or forget):
The simplest of all stitches, the stitch even children immediately understand, the straight stitch can be the most expressive way to put ideas to cloth with needle and thread. The reason is in its straight forward simplicity. The straight stitch does not use loops, knots, or combinations of marks to make itself felt. It is a mark that directs our attention by its length, thickness or thinness, texture, or color. It is in the choices the stitcher makes that determine the character of this stitch.
The size of the thread we choose, thick or thin, is a way of showing emphasis, expressing strength or weakness, or of pulling things from back to foreground. Satin stitch worked in two or three strands of cotton, silk or rayon floss creates an unblemished surface of calm, while to use a larger needle and slightly textured thread, like wool, linen or nubbly threads manufactured for hand weaving or knitting, that unblemished and calm surface can become a less placid scape, and possibly more interesting.
This is not to say that the chains, loops, composites and knots are not beautiful and useful. But when a piece uses a multitude of stitches, the stitches by weight of their number and variety begin to become items of interest, and our attention is drawn away from the message in the piece and to its individual components. A piece stitched with an assortment of highly decorative stitches might drift into looking more like a beautifully stitched sampler than a story. Just because we know (and love) these beautiful stitches does not mean we have to use them all in one project. To tell a story simply, a simple stitch may do a cleaner, more easily understood job of it.

Color may be the most eye-catching component of a piece. There are so many differently variegated threads that listing all the combinations would be a never-ending exercise. Some can be so variously colored that they are difficult to use. The more useful ones for me and my practice are threads in variations of themselves (ombre), such as shades or tints of yellow-green or watery blues, or reds that move toward orange but don’t completely give themselves to that overpowering color. Color is a very personal subject, and you will always select your own colorways to suit the story your are stitching.
Thread colors can also be mixed in the needle for a more interesting color palette. As your stitching progresses with this combination of colors, the threads will twist, and in a mix of three differently-colored strands, the colors will take turns appearing topmost on the cloth.
Of more interest, if you look to add texture to an area of stitch by mixing your threads in the needle, might be to combine rayon floss with a very light weight wool, even a mohair yarn. The dominant thread will be the heavier one, but the shiny rayon will not give up, and it will leave a little trace of shine as your lines progress.
Novelty threads can make surprising marks, especially eyelash yarns for knit and crochet, because you can control how much of the eyelash is pulled to the surface of your cloth, how much of the shaggy parts to allow onto the front of your work. Although a little extreme, this is one of my favorite eyelash yarns, one that makes a statement about untidiness, especially in nature.

To stitch with these awkward, sometimes oversized threads you will need to expand the "big" end of your needle collection. Chenilles in size 14, 12, or larger (the smaller the number, the larger the needle) will draw all but the largest, stickiest threads through a soft cloth. I have developed a considerable nonchalance about the pedigree of a needle. It must only do its job, which is to make an opening large enough to draw folded-over thread/yarn through the cloth I am using. I ask no more of it. Upholstery needles, leather worker's needles, sailmaker’s needles, beading needles, and chenilles in alarming sizes are all part of my personal kit.

In the end, your pincushion, cloth scraps and variety of threads are not on display. No one ever needs to know you used a needle that is a lethal weapon to get that chunky wool through your fabric. It's what the marks can do to help you tell your story that is most important. The straight stitch in its many forms is exactly the platform for story telling in this tactile way.
Start out by making a visual inventory of your threads and yarns. Use a cloth that is not tightly woven-- and here upcycling is invaluable, because that old and worn pair of linen trousers is an excellent base for this type of sampling. Frame or hoop an 8" x 10" cloth (20 x 25 cm) so the fabric does not pucker as you work. Divide the cloth into two columns, and stitch a line or two of each of your threads. Do not tuck the ends in, but leave that end free to dangle two inches or so at the end of the stitched line. This is so you will be able to easily identify the thread when you are ready to use it. Alternatively, choose a narrow strip of fabric, tacked or stapled to a 5" or 6" wide frame that is 20" or more inches long, and begin to stitch the short way across your strip. As described above, leave the end of your thread hanging as you stitch. Below is a picture of one of my "inventory" samples. You can see that I also used looped stitches and knots, as I was interested in the versatility of the thread as well as textural possibilities.

In this sample below I was interested only in texture, texture, and more texture. The stitches are worked in cotton thread meant for weaving, 10/2 or 12/2. Moving from right to left, the needle takes on one additional thread with each line: beginning with single, then double, up to five threads in the needle in the last example. Adding more strands of thread meant a change to larger needles along the way.
Once you start looking, you will find interesting threads everywhere. Ask friends who knit or crochet to save you bits from their projects. If you have a weaving friend, you may have a gold mine of "thrums" to use. Look for tapes in different widths. Check out Japanese threads, which are often innovative and meant to be mixed with other thread/yarn so they are not always a heavy size. Jan Beaney is fond of saying, "The more you look, the more you see," and there is no better advice than that!